First and foremost, I am not an expert in the topics discussed below, I’m an enthusiast who is learning along the way…
I recently took up some interest in doing some hydro dipping of some guns, firearm accessories, and various other gizmos and gadgets I have laying around the house…
Hydro dipping is also called hydrodip, water transfer printing, water immersion printing, hydrograghic printing, hydro imaging and fluid imaging. All of these things refer to the same processes.
One thing I quickly noticed is that all of the at-home DIY kits (that I could find) used funky generic versions of patterns, and just were too small scale for what I was really looking to do…
So, what did I do? I opened up a business account with the main company that is licensed for patterns such as MultiCam and Kryptek and placed some orders for the basic materials to get started. It wasn’t a huge investment, but it definitely was a lot more than a DIY kit; and it required things like automotive paint guns, an air compressor and of course space to actually paint things with a large volume paint gun, etc. Fortunately, I have or have access to most of the required space and materials; but I definitely had to make some investments in the painting and chemical department ($300.00 and growing daily).
Once I got everything that I needed, I decided to jump right in…
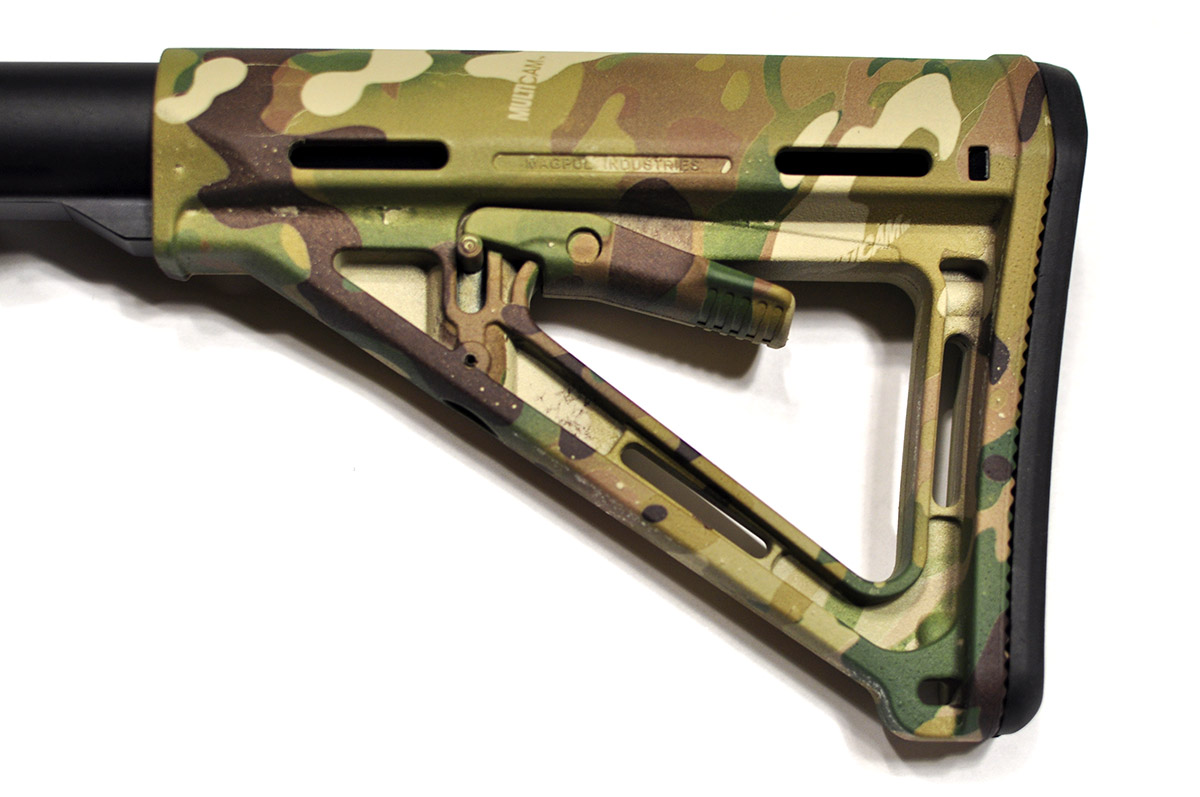
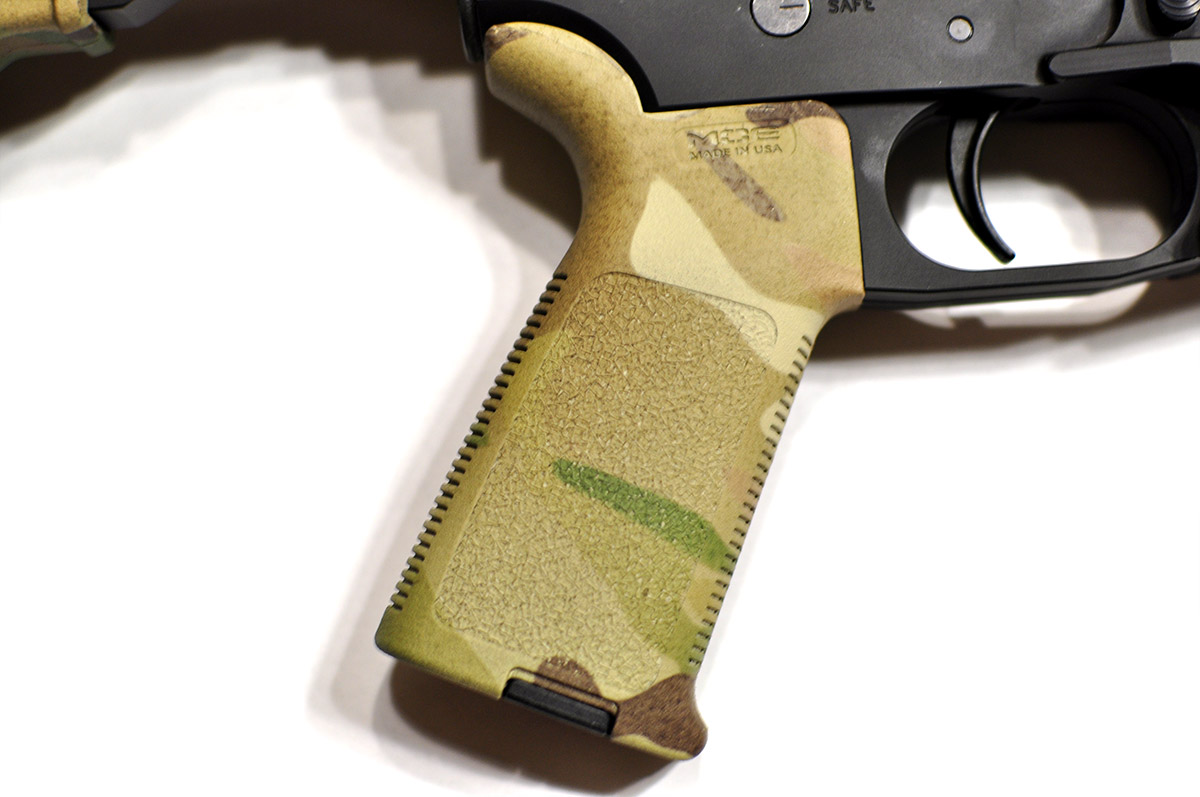
I decided to dip some parts off of one of my first AR-15 builds, more on that build here. So the first step was to strip off all of the things I wanted to dip. That was the easy part…
Even with a lot of the space, chemicals and equipment, the process is pretty laborious. It involves cleaning (and I mean a thorough cleaning) of all of the parts you want to paint. If there is any oil, grease, or other grime on the parts, the pant will not stick. I ran into some issues where I didn’t get everything as clean as I should have, and the paint just peeled right off of the anodized surface. I found using a scrubbing pad and soapy water worked really well for the basics, and then acetone for things that had a lot of grime built up on them. Just remember, cleaning is key!
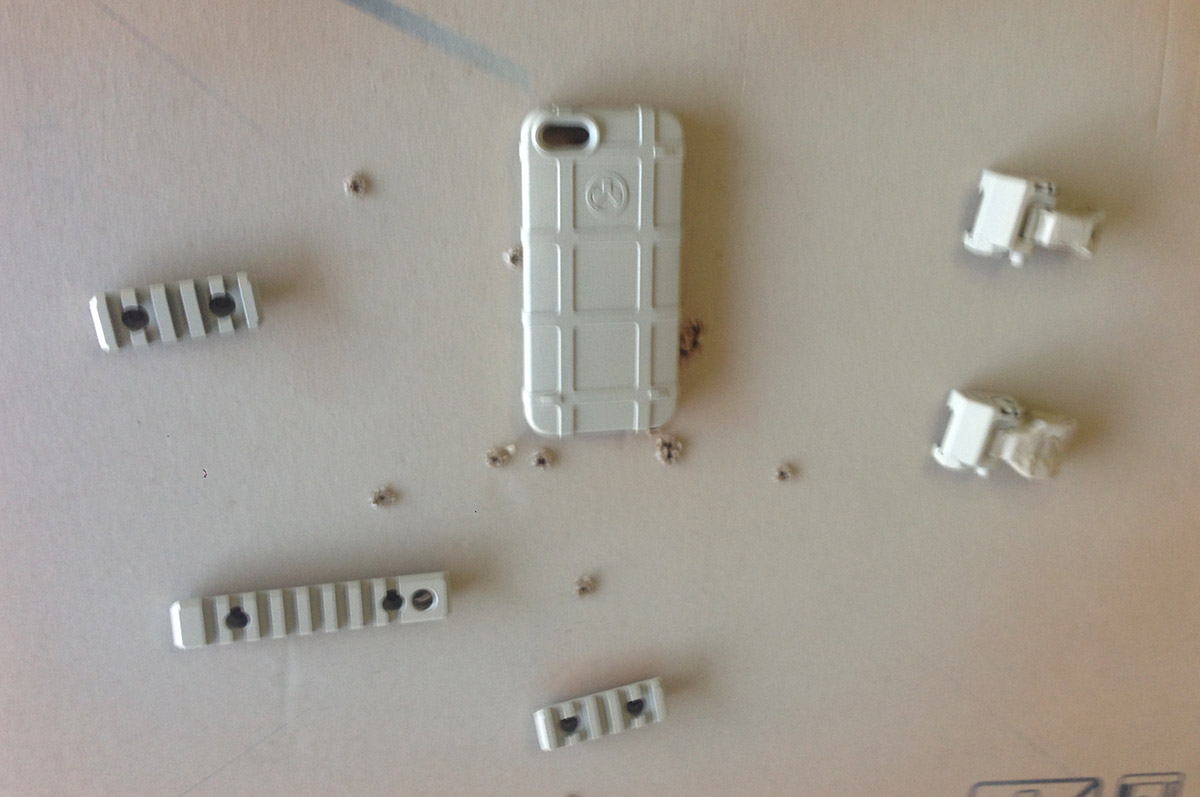
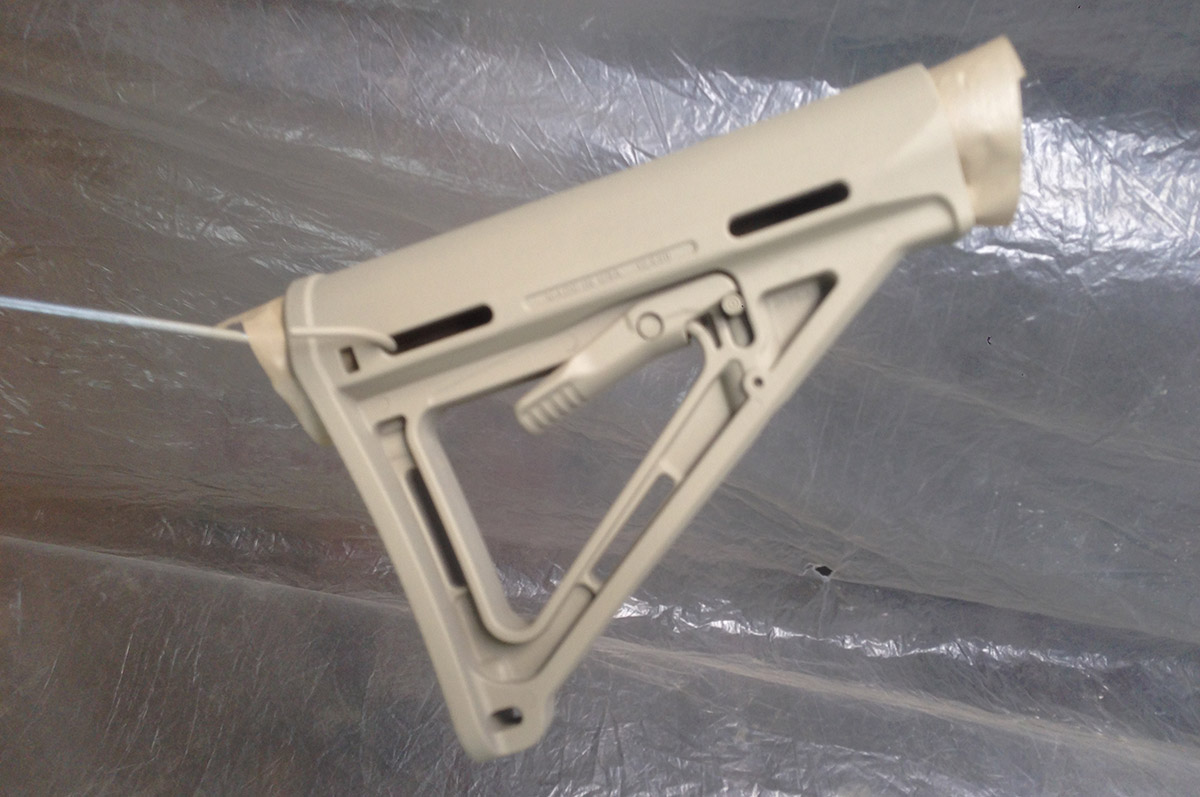
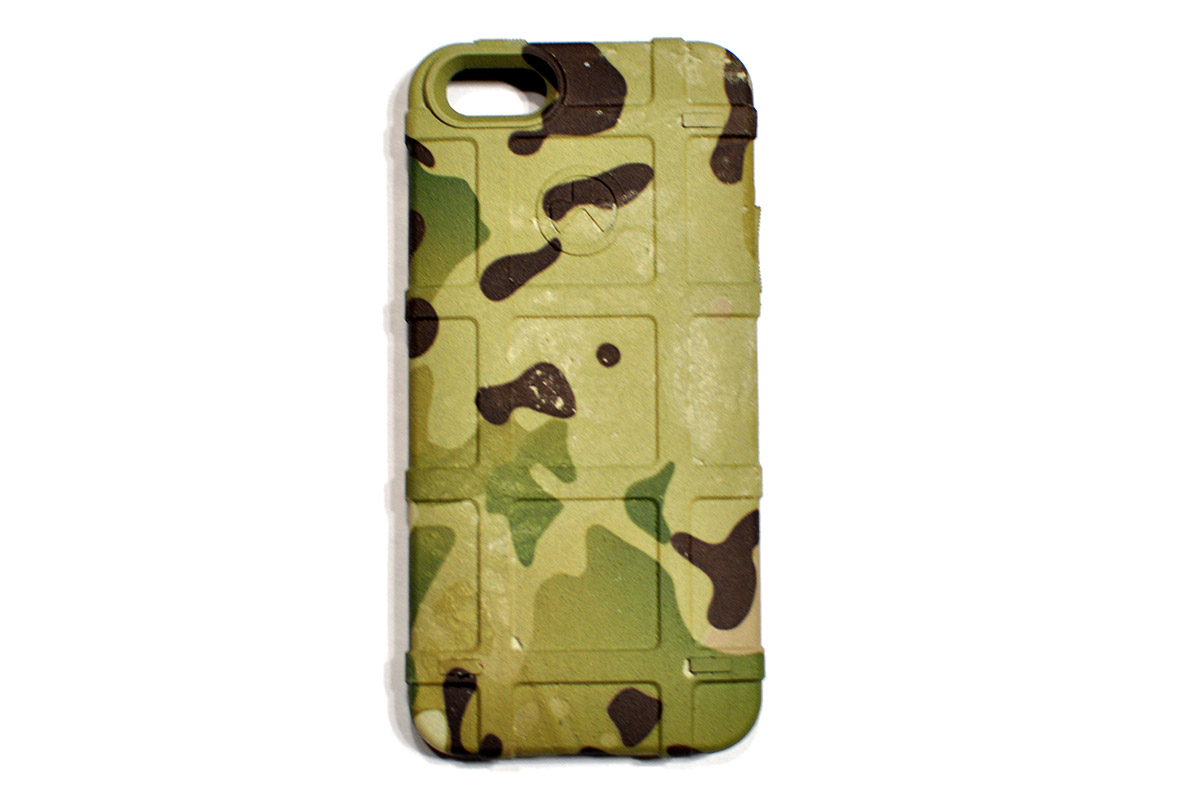
After you have everything really clean, you need to have a place to paint, and I don’t mean outside on your porch with some cardboard. The paints are all very toxic and get everywhere with the HVLP sprayers. So you really need to have a paint booth, or something like that with a lot of ventilation. I setup a makeshift paint booth with some tarps and fans in my shop, so it worked out well, but a true paint booth would have been helpful. Also, make sure you have everything hung up, or setup so you can fully paint everything. You don’t want to get in the middle of the painting process and have to mess with holding things up, etc. I hung the stock and pistol grip that I was painting and sprayed them with a light tan base coat. The painting process is pretty easy, once you have everything going. The Paint mixing is a little bit of a pain, the paints I have use a 13:1 mix ratio, and fortunately I ordered mixing cups that have that ratio on them, otherwise that would have been a real pain to mix up the small quantities I needed. The paint is very thin, and a little goes a long way. I mixed up a very small amount, 2 oz, and it painted the stock, grip, rails, sights, a phone case, and two random bowling pins I had laying around.
After everything was painted and had time to dry, it was time to get the water tank ready and to get the film laid out and cut up for dipping the parts. First thing I did was to lay down all of the parts and mask of areas on the roll of film. Basically I just laid masking tape in squares around the parts. I used wider masking tape (.94 in), but it was a bit of a waste, I’m going to buy some thinner tape. Once I had everything masked off, I cut out the squares and set them aside with the parts. Once that was all done, I got the water ready, basically using warm water to fill a medium size tub, keeping the water at about 30°C (86°F). I found that the water temperature isn’t too important, as long as it’s not really cold or really hot, everything will work out OK (as long as you do everything else right). Once that was all setup, I placed the film in the water, gently from an angle so there weren’t any air bubbles, then you let the film hydrate for about a minute, maybe a little longer depending on the water temperature. Basically you can see the film change texture a bit when it’s fully hydrated. Next up is the application of the activator, this gave me a headache for a while. I wasted more than a couple chunks of film trying to get it right. Basically, the HVLP gun that I was using just wasn’t putting out much activator, so I kept under activating the film. This caused a lot of issues; spots weren’t activated, other spots were and that caused areas to not stick to the parts I was dipping, etc. Basically it was a huge headache. Bottom line, you need to get your activator application process down to a science… trial and error with your equipment and tank is the only way to go on this one. I found with my small HVLP gun, with a 1.0 needle, I had to make 3-4 passes over the film, at a high flow rate and the pressure turned way down to get enough activator on the film for it to actually activate and not blow apart. It was a learning process for sure! After I got that mostly figured out, I was able to dip the parts, learning how to roll larger parts takes a specific touch, so make sure to practice on stuff you don’t really care about otherwise you will be re-doing a lot of work.
After you dip a part you have to rinse it, this is to help stop the activation process and clean off the “gunk” from the film. It will look shiny while not clean… everything I have read says to rinse for about 3 minutes, I ended up rinsing things for longer than that, but I was using relatively low pressure. You will want to experiment with your setup to figure out what works best, just make sure that the parts don’t have a wet shine to them.
Once everything was dipped, rinsed off and dry, next up was back to the paint booth to apply a top coat to the parts. Since I’m doing camo patterns, I got a low sheen top coat, there are various top coats, and for something more “showy” you would probably want something with some sheen. It’ll “pop” more. The top coat painting process worked the same as the base coat painting process, so all the fun of mixing the paint and the toxic nature all apply.
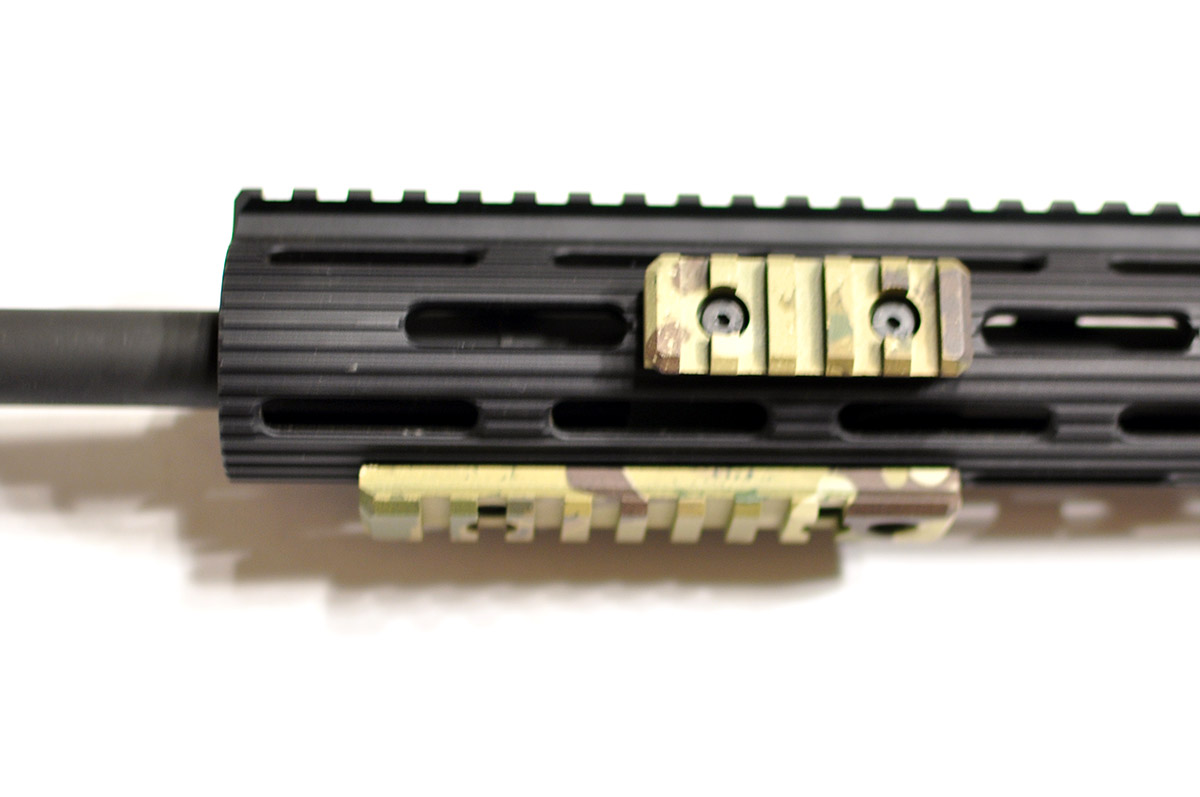
One thing I want to call out is that I purchased a plastic adhesion promotor, but decided not to use it in these cases. The Magpul parts seem to accept paint well, so I figured it would be a waste to use it… We will see how well it lasts. For things like anodized aluminum, etc. I think that using a promotor of some type would be a good idea. The anodized parts that I dipped came out OK, but there are definitely places that the base paint didn’t stick. This could have been a cleaning issue, but the promotor would help solve those issues.
Since I have high hopes for doing a fair amount of custom hydrodip work for myself and some friends, and maybe some of you down the road, I’ll be sticking to my guns and be doing what I can to keep everything setup and going. My hope is to have a process setup to dip most basic smaller things, such as AR-15 components and accessories, pistol parts and accessories, and small electronics parts (xBox controllers, etc.) in the near future. But I do need a lot more practice. Getting the right amounts of paint, activator, and the technique all down requires a bit of trial and error. And i need to build a better paint booth, that is the one must I’ve taken away from these trial parts.
Please let me know if there are any questions, or if you have any advice for me on the processes. Thank you!
Is there a specific base coat of paint to use? Or will rattle can paint work? Im on a budget. First timer. Would rather do it myself than pay somebody( plus i would like to learn the trade)
They do sell specific base coats of paint, each pattern is made to be used with a specific base color (saves money on the making of the film because it’s one less color they have to use). So for Multicam, there is a light brown base, any other color would show through that color and throw off the patter; something I have seen people do to create custom color schemes. So yes, there are specific base coat paints, could you use a can of generic spray pain? Sure, as long as the film will stick to it. But I would recommend going with quality automotive style paints, that is what seems to be used in most cases.
I have a 300 gallon hydro dip table. Last week everything with sticking I did this week and nothing will stick it goes in the water and comes out all gummy Aki looking.? U have any help email me pleace customhydrodipping@gmail.com
I’m no expert, but it sounds to me like something is screwed up with your activator. If the film is being activated correctly and it’s not sticking, you may have some issues with moisture… the film wont stick to something if it’s already wet. Make sure everything is dry and your activator hasn’t gone bad.
Why is it when I dip my wood plaques in the transfer film it turns out blochy or looks like it’s running?
Sounds like a problem with the activator to me… if you have too little things can clump up and push around, etc. Also, if you have too much things can get a little blotchy, because the activator can cause the film to break down too much. You also need to make sure that you’re pressing the material in smoothly… if you are not going smooth, all sorts of crazy stuff can look like it’s happening.
But in general, all of that leads me to believe that you’re probably not applying the activator correctly. I’d mess around with how little/much you are using and see if the results change. It’s hard to say without seeing specifically what you’re doing though. Good luck!
Is there any special way to keep your dip tank water clean since there is no actual filtration, I’m just concerned about the water getting and any residual chemicals , how often should you change it?
I just took special care to clean up/scoop out any excess material, dirt or other junk that ended up in the water. I dipped a fair amount before I did a full replacement of the water. It’ll depend on what you’re doing, but I’d recommend going with your gut. If the water looks dirty, change it out, or at least scoop out and replace it until you’re comfortable with it. There’s no exact science to it unfortunately.
Just starting out and no money for a spray gun and compressor. Aerosol activator is expensive $25. Any way to make my own?
You could try a spray bottle, something with a mist setting, or a pump aerosol container like this, http://amzn.to/2aJ6jli.
I can’t guarantee any of that would work, but anything that can put out an even spray, in theory, should work to some degree.
Hi all,I’m using 1.8 spray gun for activator but I find is not covering the hole film ? Sould I use a smaller than 1.8
As long as you are getting an even and not to heavy spray, you can just move from edge to edge and spray the whole thing. You don’t have to cover the whole film in one spray, you can go back and forth and make sure to get the whole film covered. Just move “quickly”.
I keep getting little bits dotted over an object I’m dipping that are not sticking any clues
Sounds like not enough activator to me, or your material is dirty… But I’d check both, make sure everything is clean and try using a little more activator.
Can I hydro dip over clear coat? I want to use the base color on my motorcycle’s front fender.
Generally no, you need a good surface for adhesion and a clear coat is not going to provide that. You may get it to look OK, but it wont adhere well and will be short lived. You need to clean, sand, and prime the base material and then dip for proper adhesion.
I’ve done my first hydro dip with a deer scull and a few wood pieces. I see rings where water spots remained. I noticed if I used a rag or air hose that the paint would move. Any ideas about how to get the water completely off to avoid the fish eyes or spotting?
It sounds like you’re using dirty water or something, I’ve never had any issues with water spots or anything like that. You may want to rinse more thoroughly with water than maybe use some distilled water for a final rinse, that shouldn’t leave any spots. If it does leave spots, you may have not rinsed enough, or used too much activator and it was burning in where there was too much. Unfortunately, it sounds like it’s going to take some trial and error to figure out whats going on.